
How to Publish Your App on Cafe Bazaar:
After building your app with ServerNet and receiving the APK file, you can publish your app on Cafe Bazaar or other app stores.
In this part, we're going to teach you the steps for preparing your app and publishing it on Cafe Bazaar.
1- Go to the Cafe Bazaar website and follow this link to sign up.
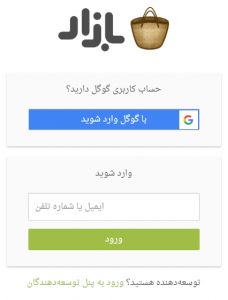
2- In this form, if you have a Google account (Gmail), you can easily log in to Bazaar by selecting the "Sign in with Google" option and complete your user information. If you don't have a Google account, enter your email or phone number, and an activation code or link will be sent to your email or phone number. As you can see in the image, your user account has been created. A confirmation email has been sent to your email address.

4 – Go to your email and click on the activation link that was sent to your email address.

5- By clicking on the activation link, your account will be verified and you'll be taken to your profile on Bazaar.

6- After verifying your user account, in order to be recognized and verified as a developer on Cafe Bazaar and to be able to publish your app on Cafe Bazaar, you need to go to the "Developers" section from the bottom (Footer) of your account page.

7- By clicking on the "Developers" option, you'll be taken to the following page. Here, you need to click on "Click to register" and complete the registration steps in order.

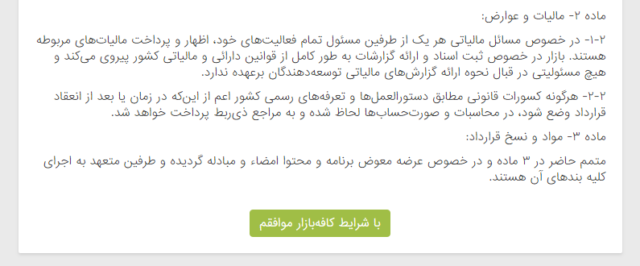
8 – After clicking on "Register," you'll be taken to the following page. This page contains a complete agreement between you as a developer and Cafe Bazaar that you need to approve. Read it carefully, and at the end, if you agree with its terms, click on "I agree with Cafe Bazaar's terms."
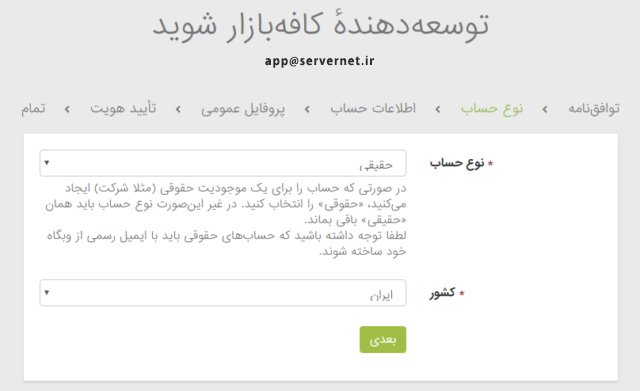
9- Once you've approved the agreement, we'll go through the steps you need to complete in order for your developer account to be activated and verified. First, you'll be taken to the following page, where you need to select your account type (individual or legal entity) and your country. Now click "Next" to move on to the next step.
To understand the difference between individual and legal entity accounts, you can read the descriptions below the field.
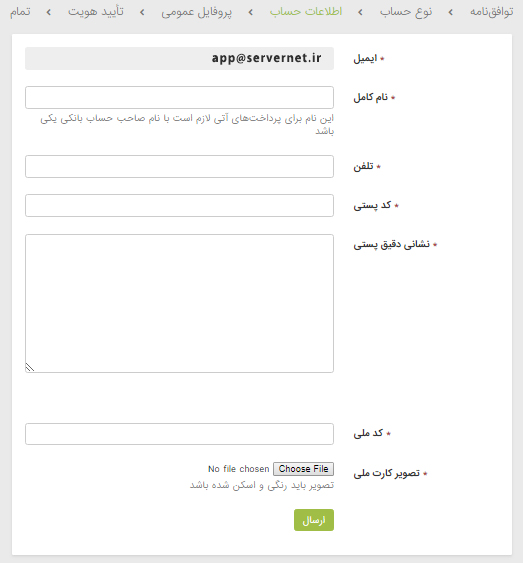
10 – In this section, you'll enter your account information including: full name, phone number, postal code, complete postal address, and national ID number. You'll also need to upload an image of your national ID card. Click the "Submit" button to move on to the next step.
11- In this section, you'll also enter your profile's general information, the name you want to use to operate under on Cafe Bazaar. After completing this section, select "Save and Continue" to reach the final registration step.
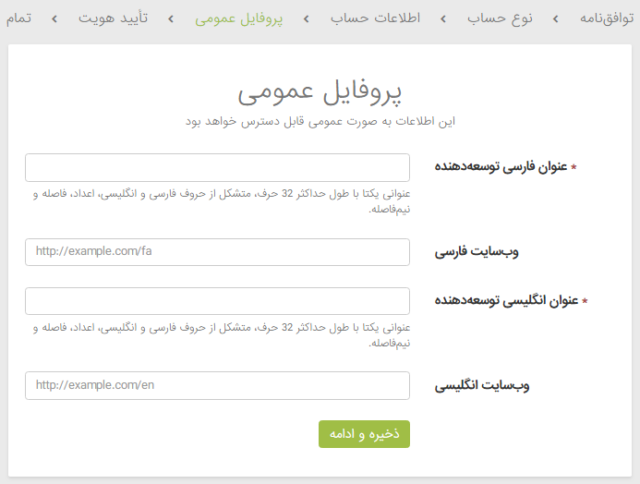
12- In this section, which is the last registration step, you need to enter your phone number so a verification code can be sent to you and your identity can be verified.
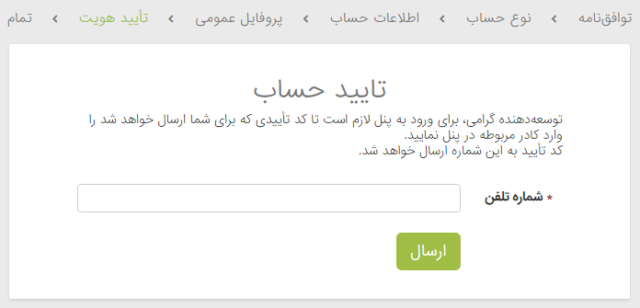
Once you've entered your phone number and clicked the "Submit" button, a verification code will be sent to you via SMS. Enter it in the field shown in the image and click "Verify."
Congratulations, your developer account has been activated! All you need to do is pay the fee of 40,000 Toman according to the agreement you signed, and you can start your activity on Bazaar as a developer. Note that this fee can only be paid through the Bazaar app and cannot be paid through the website.
You can follow the rest of the tutorial on publishing on Cafe Bazaar in this section.
You can also use the tutorials for publishing your app on other app stores in the app publishing category on the ServerNet blog.
Comments 0
No comments yet — be the first!